A while back I shared three wavy hair techniques in a blog post. I mentioned how I planned to make it somewhat of a series. This is post #2 in that series! I’ve been having fun trying out some of these different methods.

Flip, Coat, Scrunch Hair Styling technique
Flip, coat scrunch technique was coined by Atoya Bass who is a hair stylist and owner of The Curly Hair Studio. She calls herself a curl minimalist and her flip, coat, scrunch technique definitely fits under the minimalist umbrella.
Flip, coat, scrunch is a technique of showering and washing your hair upright, then flipping your hair upside down, coating your hair on front and back with your gel or other products, and then scrunching your hair. Yep, pretty minimalist!
While I didn’t realize this technique had a name until recently, this is pretty close to what I do most of the time. I used to wash my hair upside down. About a year ago I moved into a house that only has a tiny upright shower, so I can’t wash my hair upside down while my body is in the shower. So, I’ve been washing upright but then flipping my hair upside down before adding products still.
Anyway, I do usually add product to the center of my hair rather than just the front and back so I still wanted to try her technique. I was worried that I wouldn’t get enough product to the thickest part of the back of my head this way, so I tried to specifically focus gel in the thickest part.

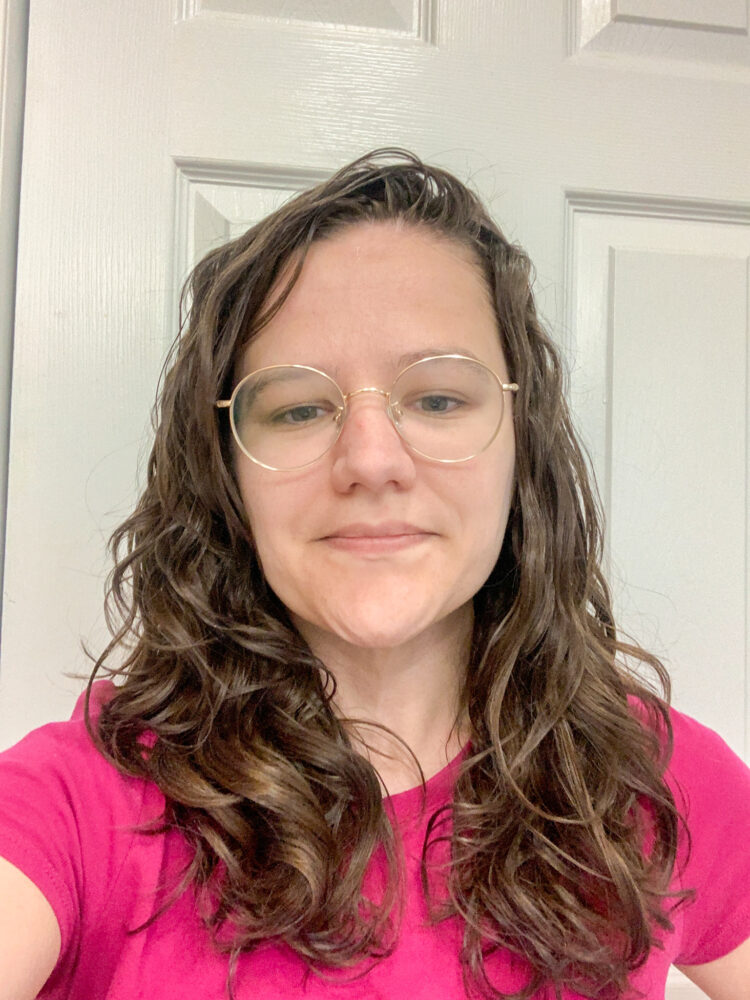
My results from trying flip, coat, scrunch.
In Atoya’s videos showing this technique she applies some gel while upside down, and then she tilts her head to the left (so sort of leaning over but to one side) and adds more gel, and then tilts her head to the right and adds more product at that angle as well. I did all 3 angles that she uses, but I did try to focus more gel to the center than the ends to see if I could get a cast this way.
The flip, coat, scrunch technique can be used while air drying or diffusing. I usually diffuse so that’s what I did with this. Unfortunately, I did find that part of my hair in the back didn’t get a cast. I think my hair is just too dense to coat my hair in front and back while leaning upside down or leaning to either side. I have to get my hands right up in the center of my hair to get it coated well enough.
However, my hair stylist did say that I have VERY dense hair, so I suspect this may not be a problem for most people. For my hair type, I’d just slightly modify this by parting my hair roughly in the center of my scalp (like from ear to ear) while upside down and work gel up in that thick section. So rather than coating just the front and the back, I’d also coat some in the center.
I love the ease of this technique though. I spend enough time diffusing, I don’t like spending a ton of time on the styling portion so I’m all for just applying product, scrunching and diffusing!
Gel, Mousse, Gel hair styling technique
In my last techniques post I shared mousse, gel, mousse. This is the same concept, just swapping the products to create a “sandwich” in the opposite order. This resuls in using more gel than mousse, while the other uses more mousse than gel.
I used Aussie Instant Freeze gel, then Aussie Insant Freeze Mousse, then Aussie Instant Freeze gel again. I tried to use about 1/3 of the amount I’d usually use of each.

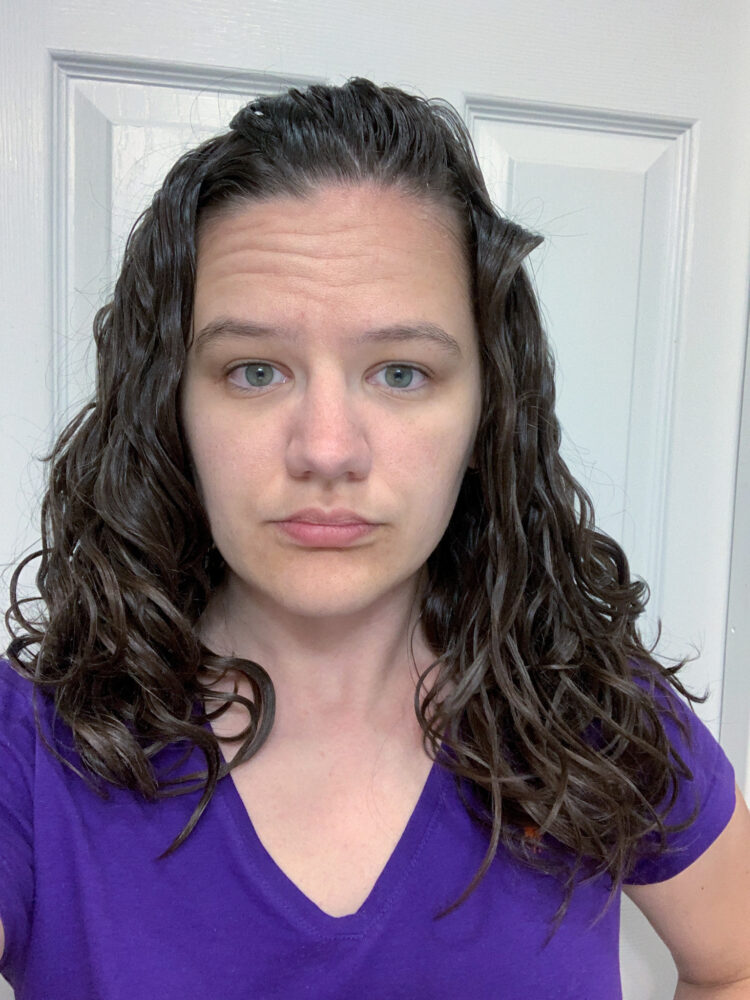
I found that the gel, mousse, gel technique definitely prioritized definition more than my usual methods do. I didn’t really like the results I got, but that is largely because the hair on the left side of my head haven’t been curling up very well at all lately. For me this is usually a sign that my hair needs protein, but protein treatments haven’t helped. I think my hair has just gotten ‘bottom heavy’ and needs layers added.
Anyway, my larger point is that I think I could appreciate the definition this technique provides if my hair wasn’t “misbehaving” the way it currently is. I’ll probably revisit this technique after getting a haircut.
Wash now, Style later
Wash now, style later isn’t really a styling technique in the traditional sense but I don’t know what else to call it or how else to fit it into a blog post so, I’m adding it here!
Wash now, style later is something you can do if you ever find that you need to wash your hair, but don’t have time to style it yet. It involves washing and conditioning your hair, letting it air dry without any styling. Then later once you have time to style, you re-wet your hair completely (without washing or conditioning it) and then style.
I sometimes skip styling my hair if I am busy or just don’t feel up to it, but I’ve never tried to style it later without re-washing my hair. So I Was curious how this would go for me. To try it out I washed my hair one morning and let it dry completely. Then a couple of hours before bed, I re-wet it and styled it my usual way, and diffused until dry.
It felt pretty strange to completely soak my head with water without using shampoo or conditioner! I found my hair a bit harder to manage while wet than I was expecting. It didn’t want to align well on its own and it had more wet frizz than I’m used to seeing. I was able to just comb and brush my hair while wet, and then add more water to get it to “behave” without much issue.
However, I did find myself wondering if people who have tangle-prone hair might find this technique difficult because wetting your hair definitely leaves it feeling different than hair feels after rising out conditioner.

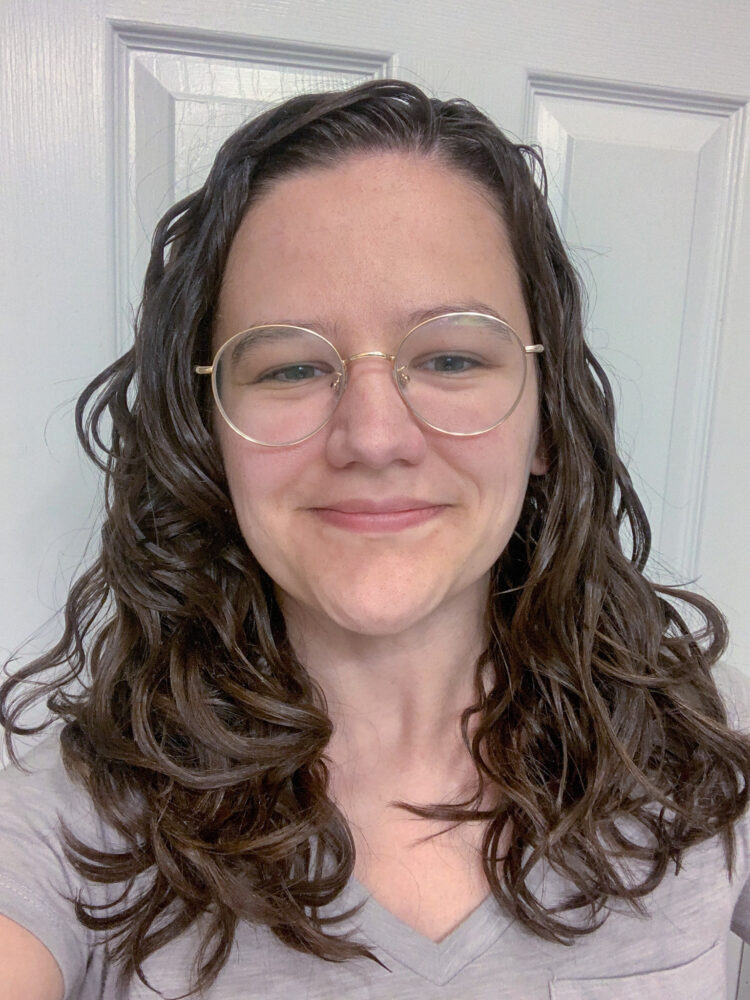
My results after doing wash now, style later.
Anyway, I went on to style my normal way which is plopping for 10 minutes, then adding my gel, scrunching and diffusing. As expected, it gave me pretty similar results to what I would experience if I had styled right after my shower.
My life isn’t usually so busy that I find myself needing to wash my hair without having time to style it. Or if I do, I am usually content to just leave it unstyled until my next wash day. Still, it’s nice to have this option now, in case I do ever find myself wanting to have styled hair a day after having washed without styling.
Leave a Reply